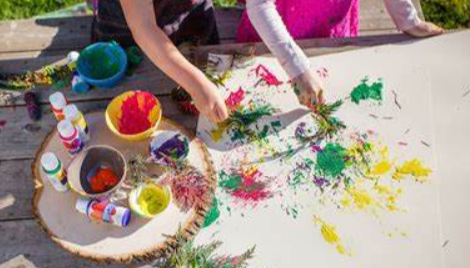
This week let's create some art for the outdoors. Hopefully with all these beautiful days we have been having you have been spending a lot of time outside! Some of the art will require items you might not have at home, like beads or yarn. if that is the case don't give up, think about what you do have at home that you can use. Just like last week, it is a matter of looking at something in a new and different way. For example you can make beads from aluminum foil and paper. You can paint the beads can even use nail polish to paint the beads (use clear on the paper beads).
Sun Prints
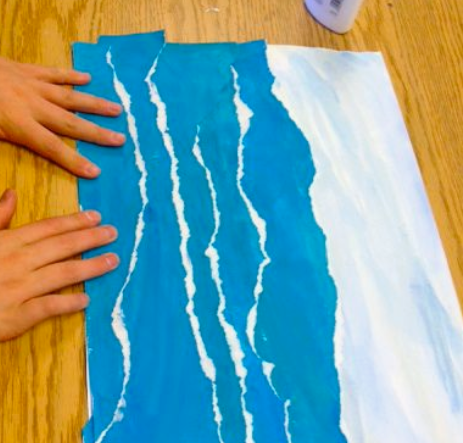
Sun prints are a fun project that combines science and art. The suns UV rays break down chemical bonds in objects such as paper, fabric, and paint. In other words, if you leave something out in the sun it will get bleached ( or the color will fade). With sun prints we are using objects on paper, or fabric, to block the UV rays in some places while leaving other places exposed to the sun. You just need a little bit of patience! You can try this at home using construction paper or fabric. You can even try it with a dark plain t-shirt. The key is to leave the paper or fabric in an area that gets a lot of direct sunlight for several days. Don't move the object you are blocking the sun with until you are ready to remove it permanently. This is also a lesson in patience. = )
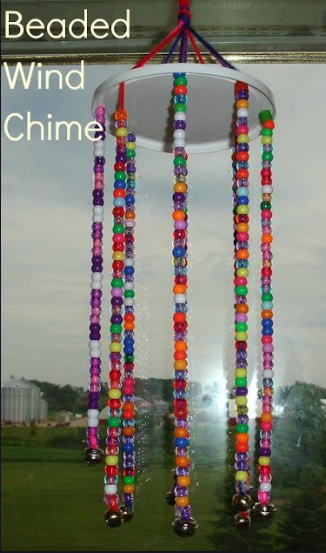
Beaded Wind Chimes
Beaded wind chimes. For this project you might need to make your own beads. Some of these projects require attaching hooks. If you have them that's great, if not don't worry tie the string to the stick. No string, or yarn? In that case you might need to take a trip to the dollar store. Hopefully there is something you can use in a junk drawer someplace!
Click here and here and here for different links that lead to different ways to make the wind chimes.
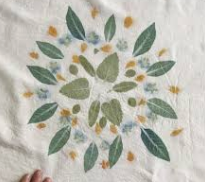
Hammered Botanical's or Leaf Pounding
Yes, that's right we are going to be using a hammer. With parent supervision and help, most kids can do this project. For this project you will need a few things, a hammer, flowers (ferns, leaves, etc.), light fabric (plain fabric tote bag), board to hammer on, newspapers, tape, an iron, an old towel.
This is another project that uses science to create art. When you pound on leaves and flowers the pigment is released into the fabric. In leaves this pigment is called chlorophyll, in flowers the pigment comes from the anthocyanins. Think about a water balloon. When you drop it the water is released. This is similar to what happens when we pound (hammer) a leaf or flower, the color inside comes out and gets absorbed into the fabric. This art form is said to have been taught to the colonists by the Cherokee. This may or may not be true, but it is very likely that this is one of many crafts that the Native Americans shared with early settlers. It is also very likely that it was accidentally discovered. Imagine an art form inspired by grass stains! With a creative mind anything is possible!
The finished product can be used to make a throw pillow, quilt, or a tote bag, maybe even a table runner. The possibilities are endless!
Click here and here for a tutorial on how to do this project.
Click here for information on Cherokee art.
This weeks art lessons show us that inspiration can strike at any time and from any where.
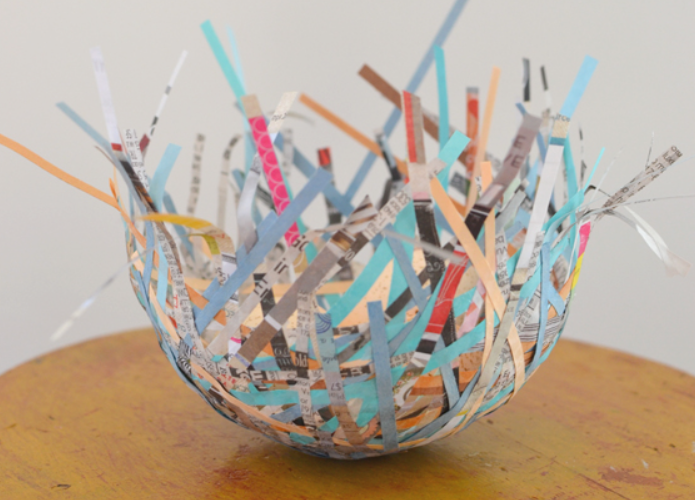
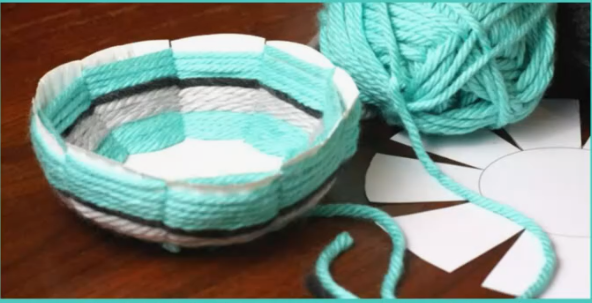
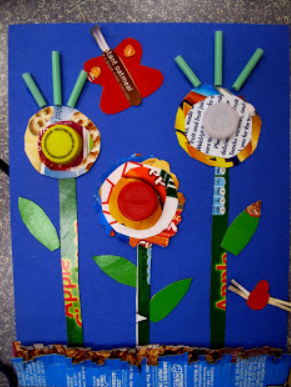
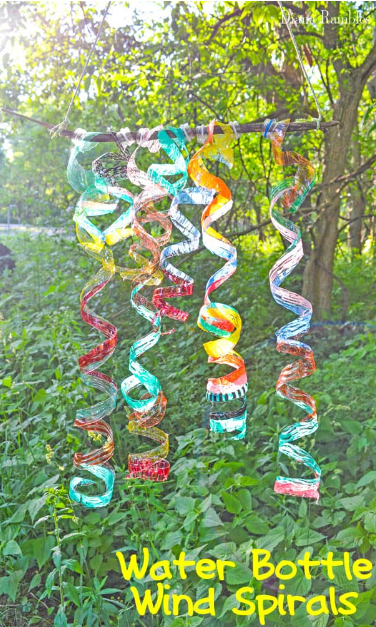
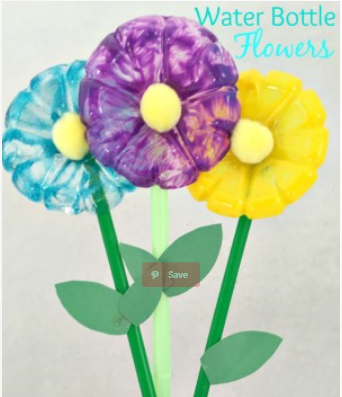
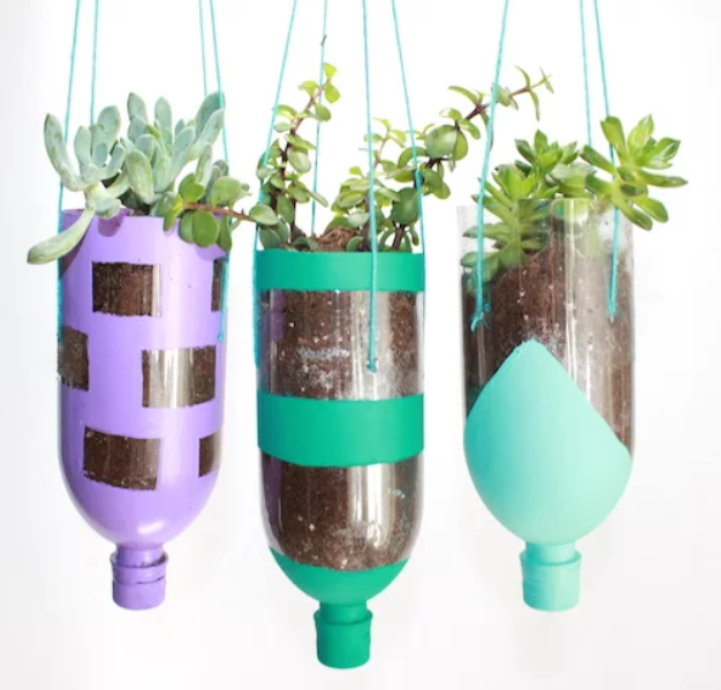
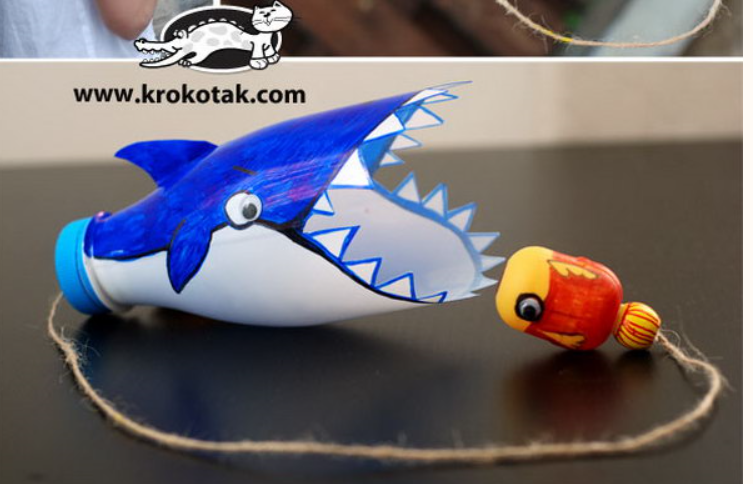
This week I was inspired by my recycling bin. Yup, it's true garbage inspired me. Inspiration can strike at anytime and when it does we should pay attention!
Each of the links below will take you to a project that has been inspired by recycling and reusing. A few projects need parent supervision. Please make sure you use caution at all times!!
Click on the picture to be directed to a website for instructions. Some websites offer multiple ideas. As always these are ideas, you can create any project from these websites. Or, you can follow your own personal inspiration! The important thing is that you are thinking of ordinary things in new and creative ways!

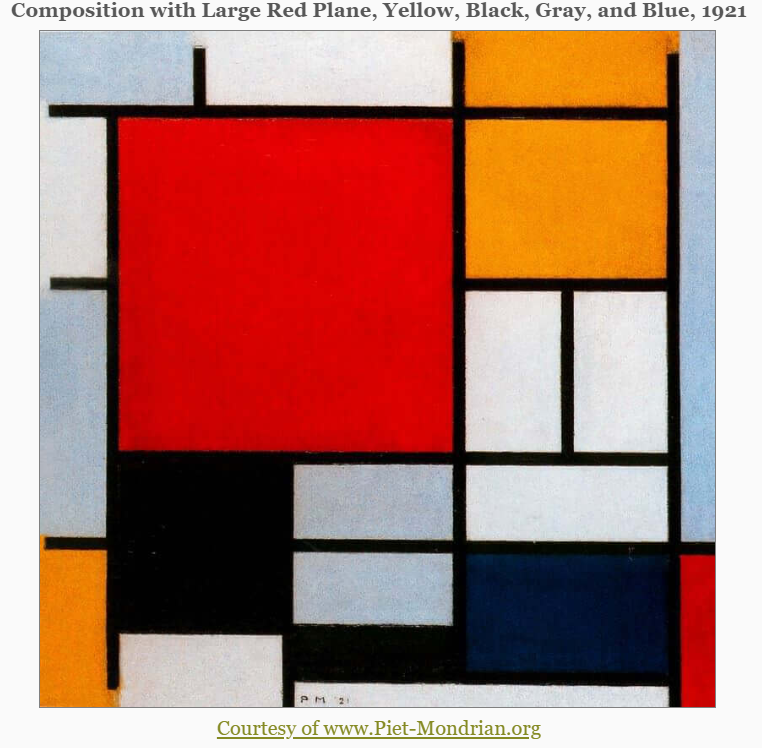
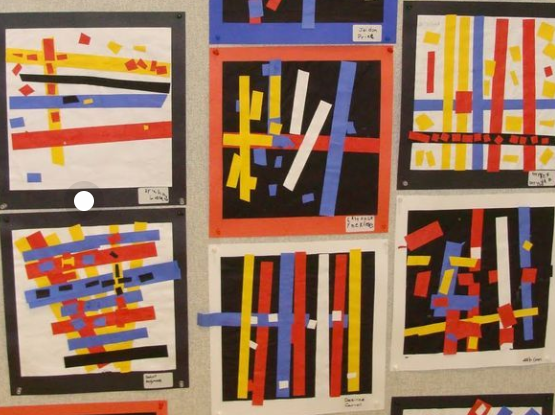
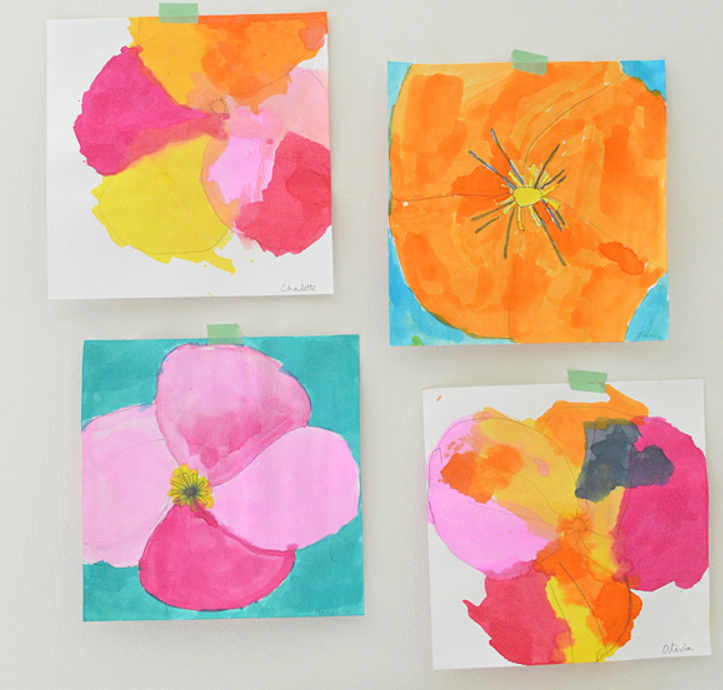
Piet Mondrian
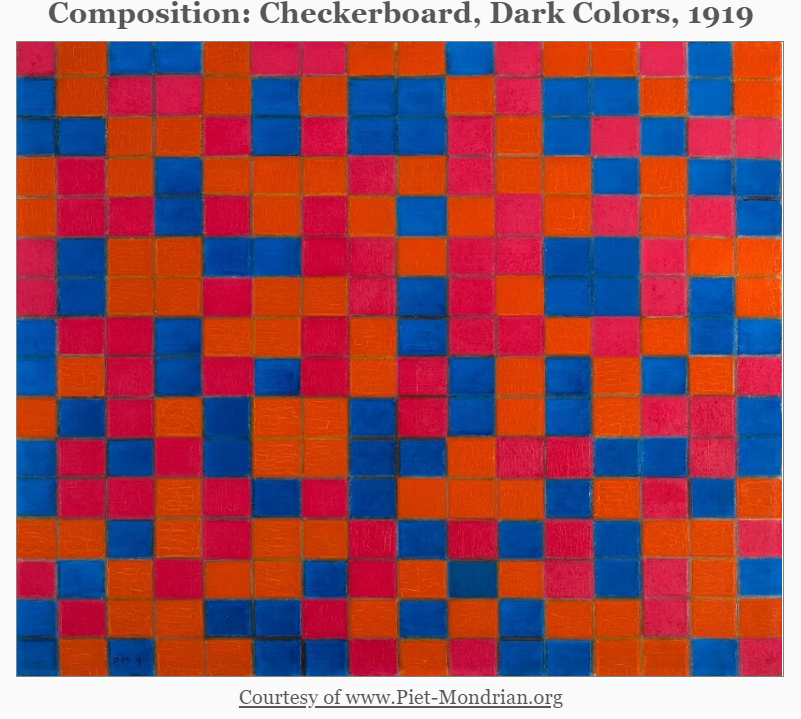
Piet Mondrian is best known for his abstract geometric paintings. His artwork is a wonderful place see how math and art can be very good friends. In fact, art without math can be a bit of a mess. Imagine a building whose architect didn’t measure properly, or Michelangelo’s paintings on the ceiling of the Sistine Chapel without geometry or perspective.
Below are a couple of examples of Mondrian's geometric paintings
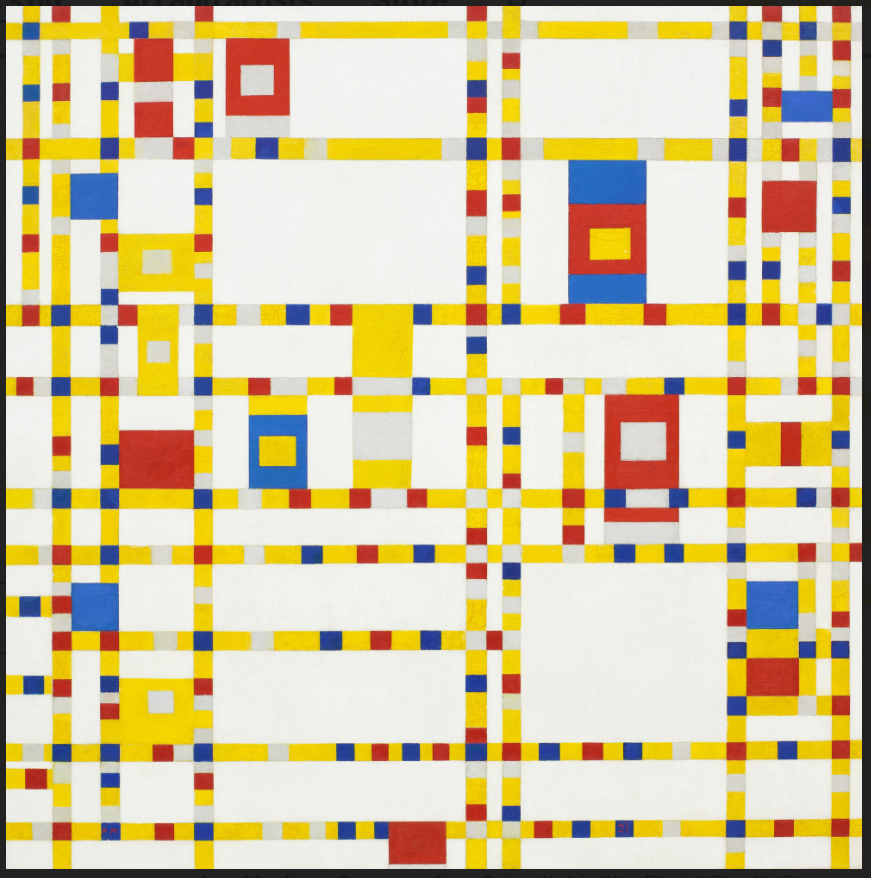
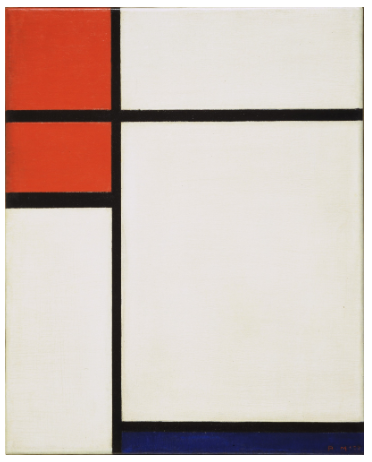
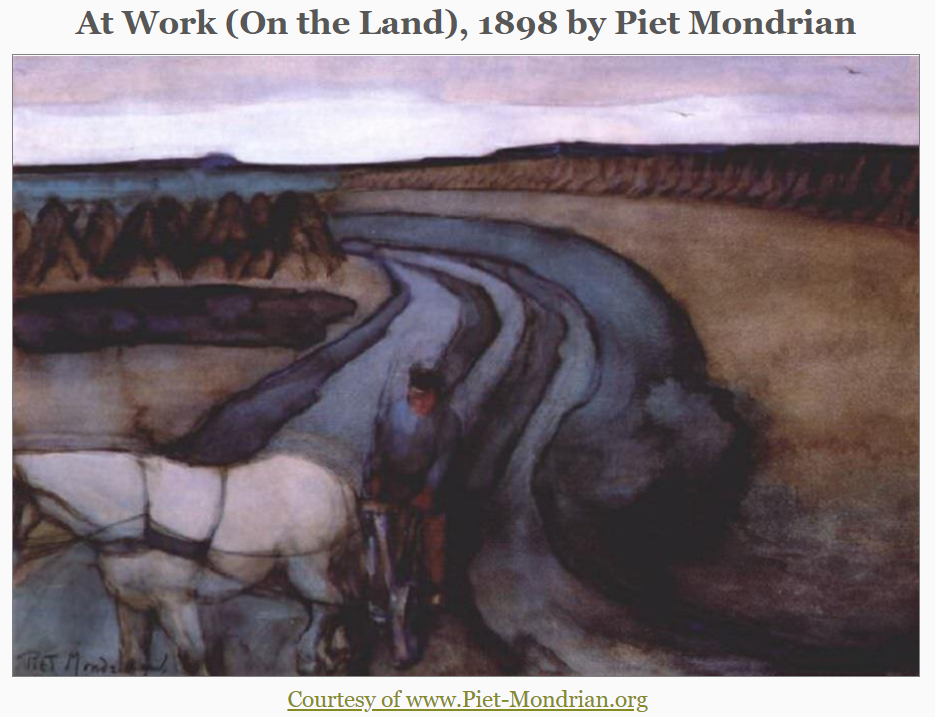
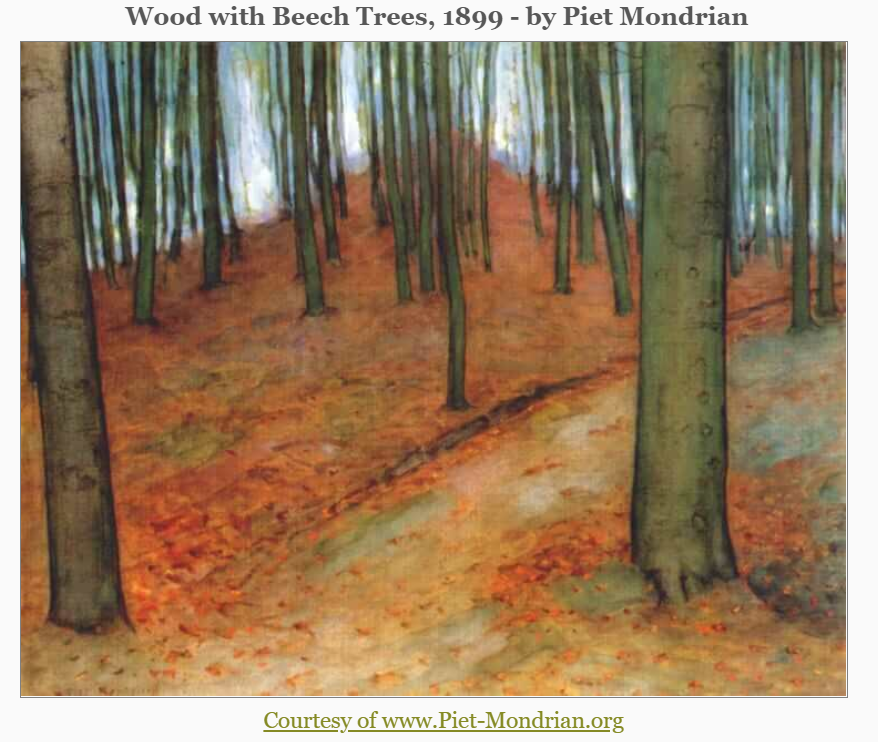
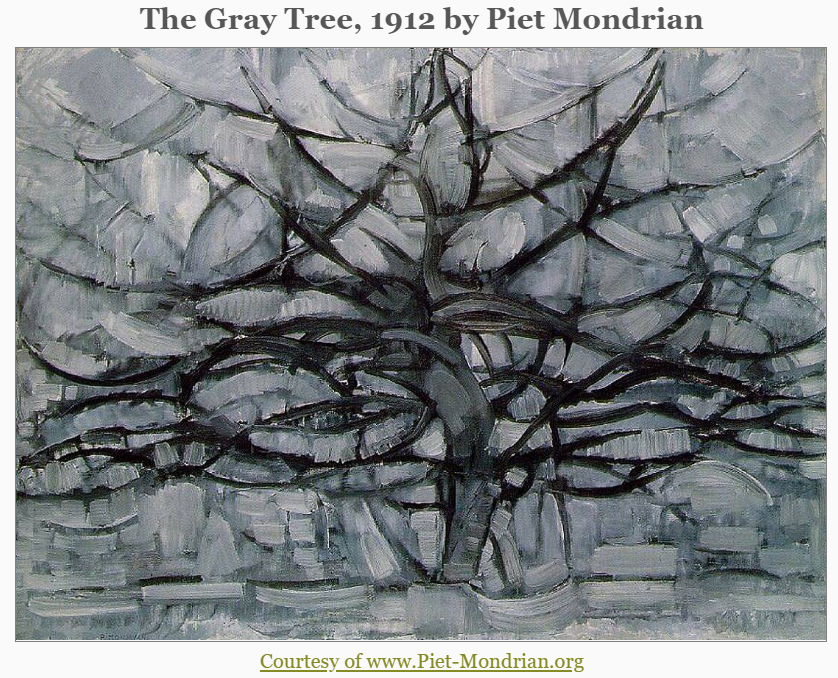
When we look at Mondrian's work a few misconceptions come to mind. The first one is, this looks easy. The second one is Mondrian can't really paint. The truth is that nothing is as easy as we think it is. As far as Mondrian's talent, he was a very gifted artist. He wanted to reduce objects to there most basic form. Below is a brief evolution of Mondrian's work. For more detailed information on Mondrian's life and work go to www.piet-mondrian.org/.


Create your own ""Mondrian" style artwork.
Materials:
Ruler
Pencils
Graph paper, Drawing paper or Computer Paper
Crayons, markers, paint
· These are general supplies the materials list will vary according to the lesson plan you are following
Below is a sample of what a project might look like. You can vary how your divide your square, you may even want to start with a rectangle. The sample is just to give you an idea, follow it faithfully or make your own creation.

A few variations that all age levels can do to create their masterpiece:
Start with a black piece of construction paper. Cut a variety of squares and rectangles out of yellow, blue, and red construction paper. Lay the colored shapes on the construction paper. When you find a composition (the way the objects are set up on the paper) you like glue it down.
------------
Create a grid using black electrical tape on a piece of heavy card stock. Using paint, markers, colored pencils, etc. fill in some of the squares with the primary colors (red, yellow, blue).
-----------
Cut strips of construction paper (primary colors and black) lay them on the paper. The strips will overlap creating a grid.
-----------
Use lego blocks. Watch this inspiring video to inspire you.
-----------
Happy Creating! I can't wait to see what you do!
This week I would like you all to go on a virtual field trip to The Cloisters Museum and Gardens. Click on the description of the Cloisters for a link to the virtual tour.
Hopefully after things get back to normal you and your families will be able to enjoy a real tour of The Cloisters!
I hope you this tour gets you curious and interested!
Once you have taken the tour you can send me a comment about what you liked or didn't like.
|
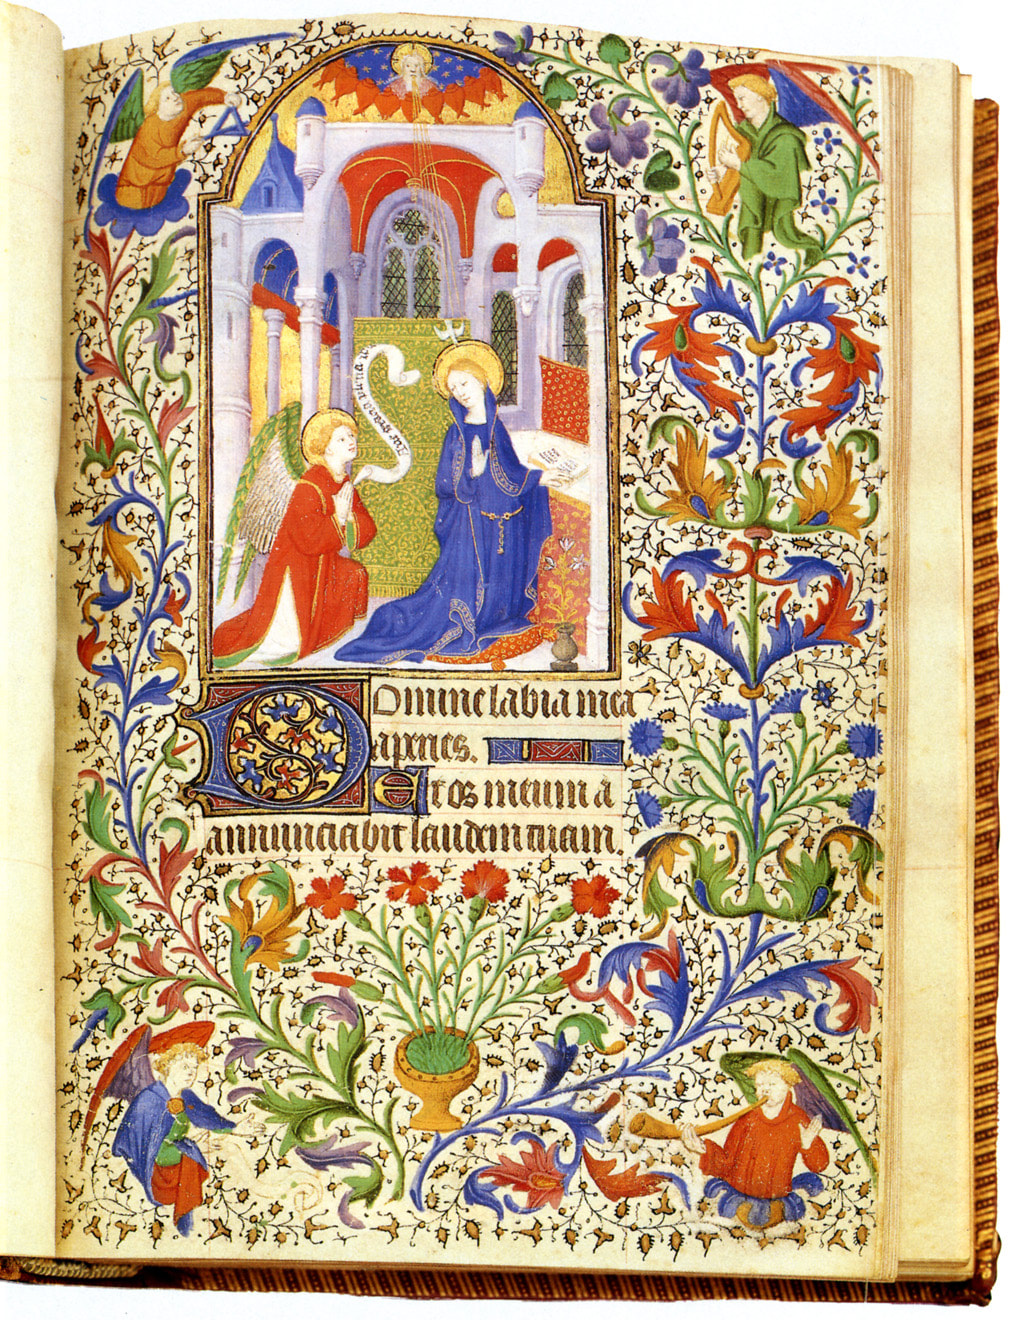
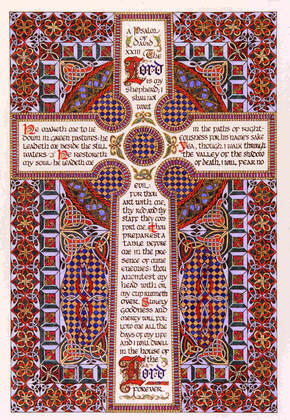
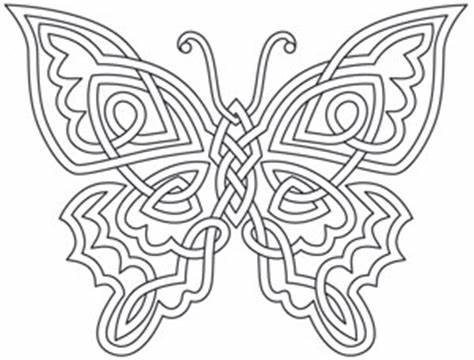
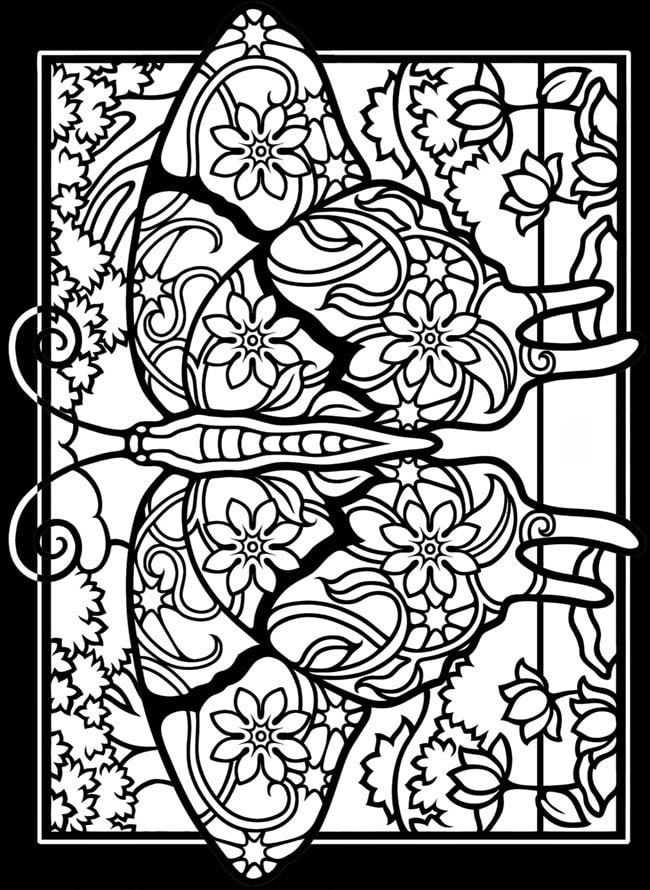
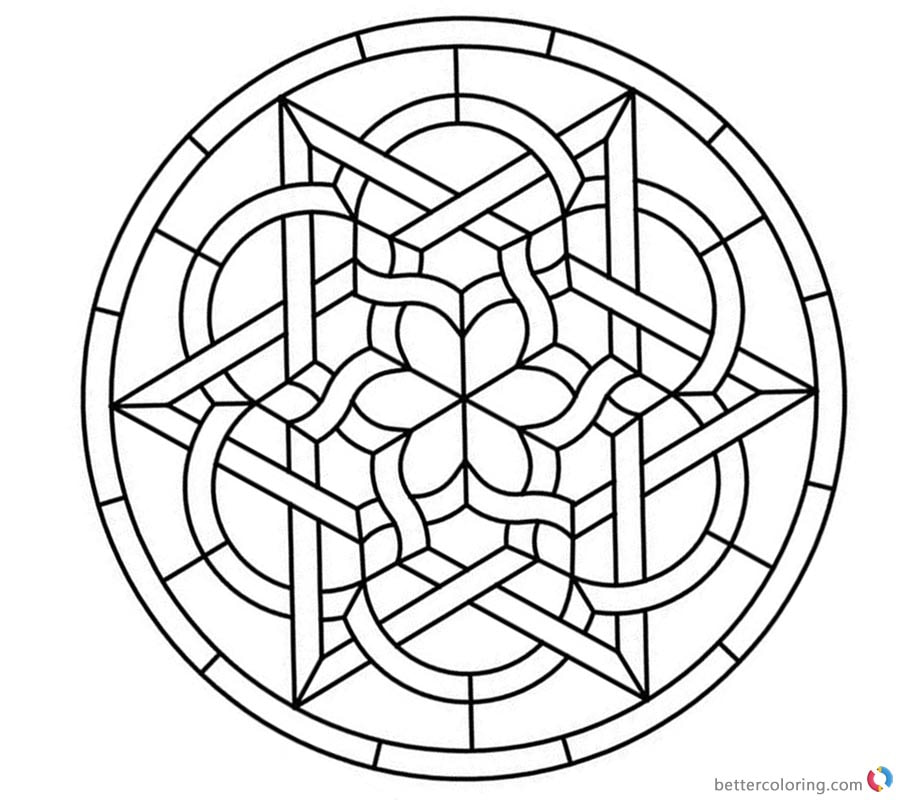
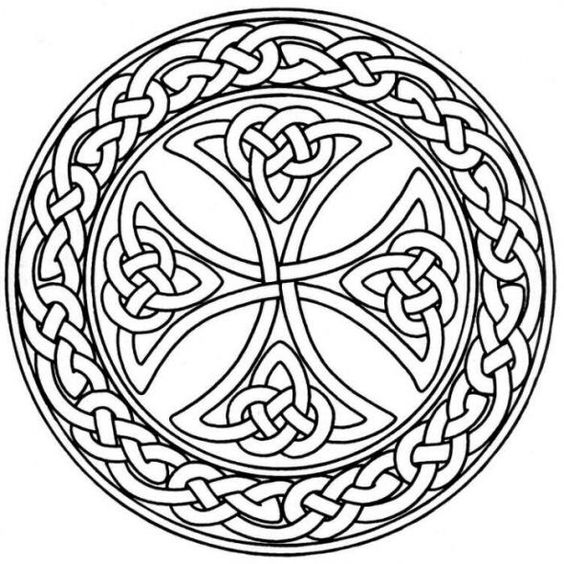
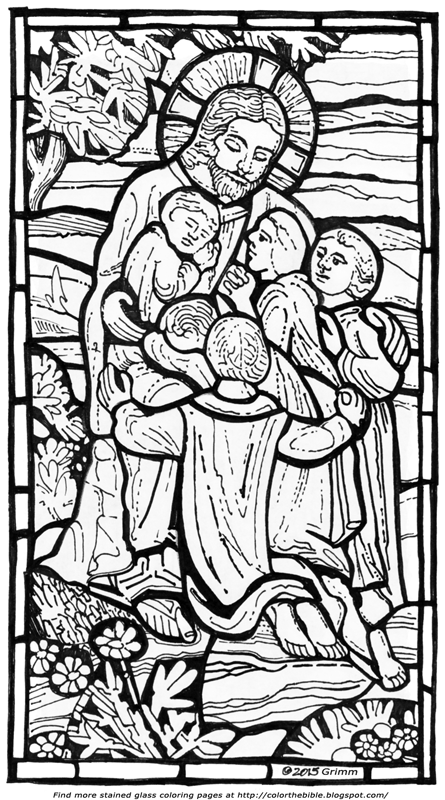
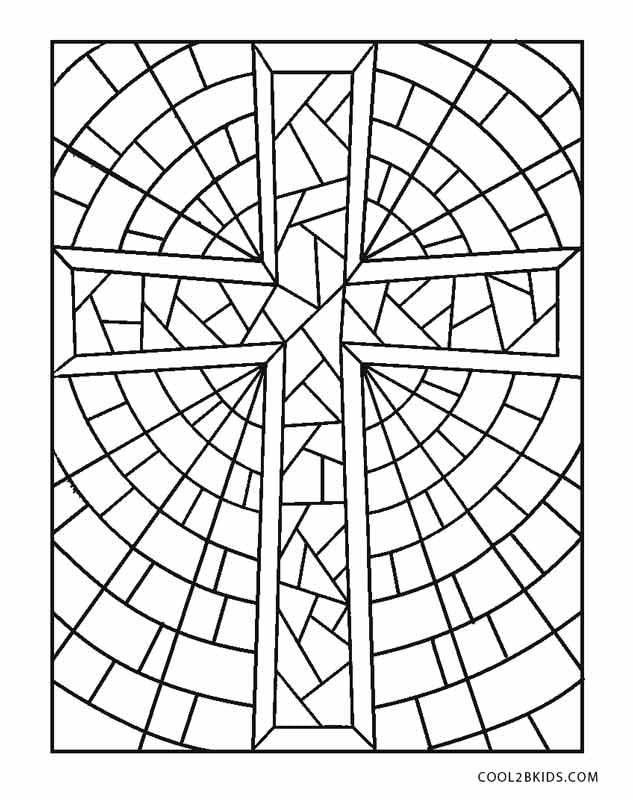
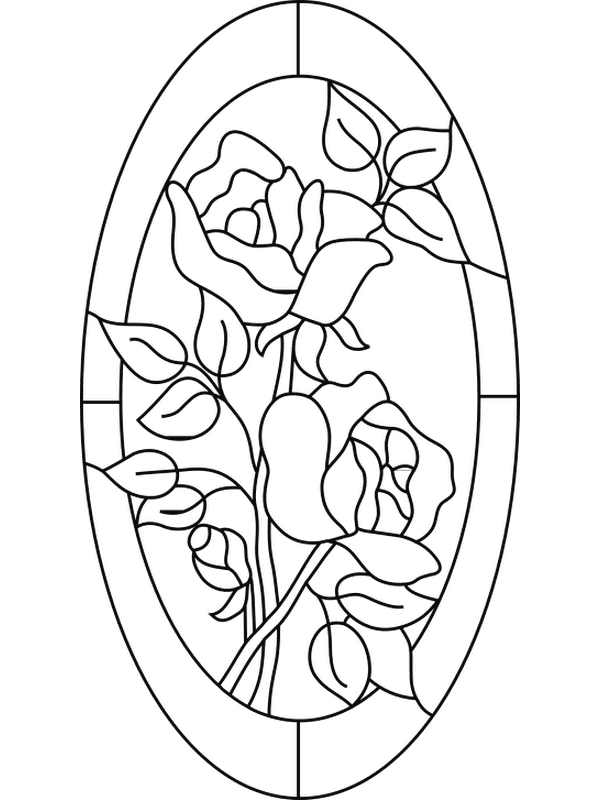
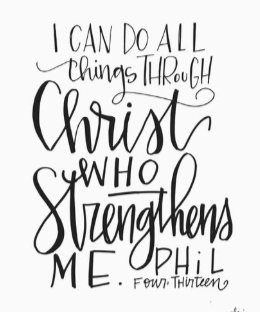
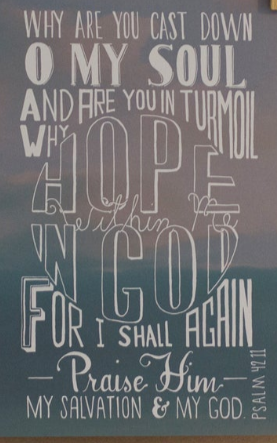
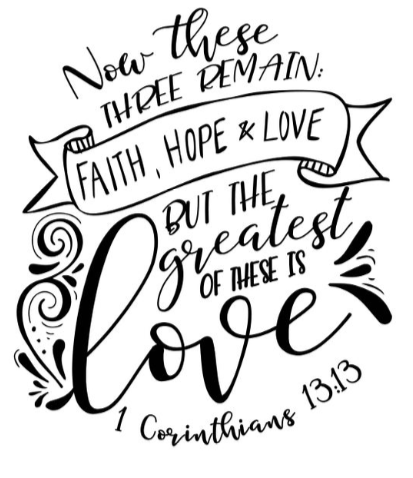
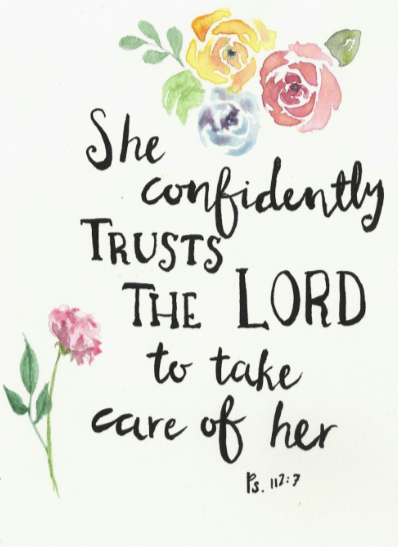
Here are a couple of projects inspired by medieval art that you can do. Hand lettered Bible Verse During the Middle Ages books were completely handmade, hand- drawn, written and bound. Click on the images of Illuminated pages to learn more about the history of Illuminated Manuscripts. For your project chose a Bible verse and use it to create a beautiful hand lettered illustration. For a few ideas click below. Sample 1 Sample 2 Sample 3 Sample 4 The manuscripts from the Middle Ages were hand written using calligraphy. Calligraphy requires special pens and a lot of practice. Hand letter still requires practice but since you're drawing you don't have to use special pens. Click here for a link to a website that gives and in-depth explanation of hand lettering. Here are a few practice pages to help you. Practice page 1 Practice page 2 Practice page 3 Practice page 4 Practice page 5 To create your artwork you will need a couple of sheets of paper (computer paper will work fine), a ruler, a pencil, markers or colored pencils, a Bible verse, and a lot of patience. Fold one of your papers into four sections, this is your planning page. Play with the layout and design. Do you want the design to be just the words or do you want to include a drawing or perhaps a border. Play, explore, and have fun. Once you have chosen your favorite draw it on your good paper. Use a ruler for straight lines. If you are unsure start out by simply writing the words using your neatest penmanship. Then patiently and carefully build on this foundation to make your letters fancy. Remember you didn't learn to write in one day, it took years and lots of mistakes. Take your time, be patient, don't expect perfection, and enjoy the process!! ☺ Stained Glass Coloring Pages Choose a coloring page, either from the images below or (with the help of a parent) search for a stained glass coloring page of your choice. Print out the image using normal printer paper. Color the page(s) with crayons. When you are finished coat the page with a thin layer of cooking oil. The easiest way to do this is to pour a little oil onto a paper towel and then rub the oil on the paper. Start at the top and make even strokes down. Lay newspaper or wax paper down to protect your surface. The oil will make the paper translucent. Ordinarily we cannot see though paper because the light bounces off the paper. This change from opaque to translucent occurs because the oil makes the light pass through the paper. Let the oil dry completely. Hang it in your window and enjoy! |
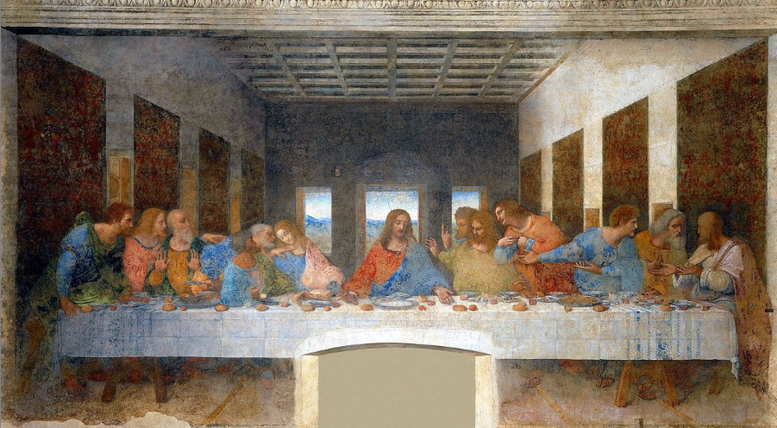
Happy Easter!!!
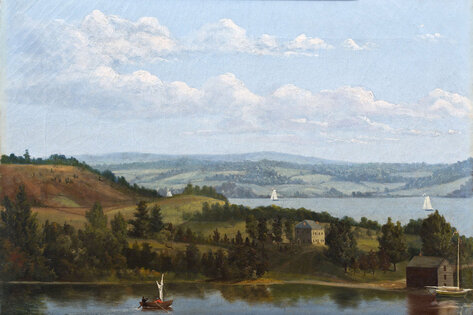
Leonardo da Vinci
The Last Supper
c. 1498
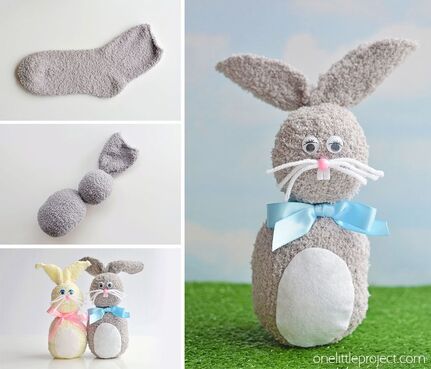
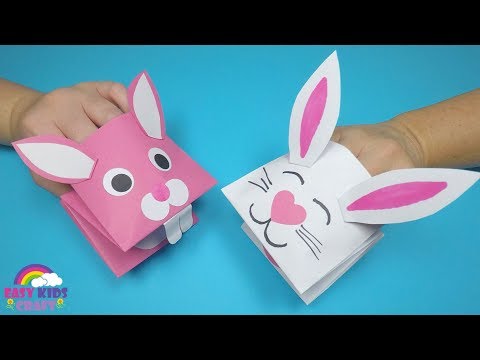
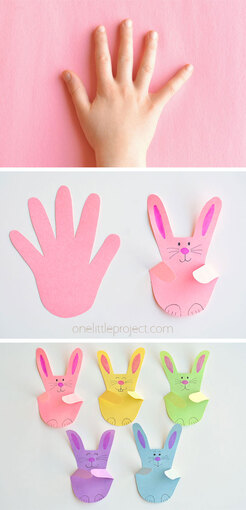
Easter Crafts for Everyone! Click on the image for a link to the directions.
Have fun!
|
|
|
|
Drawing
This week we are going to focus on drawing.
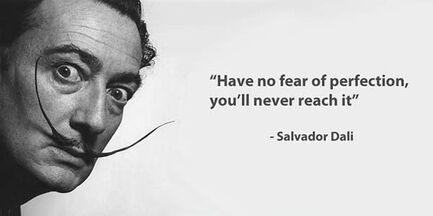
The most important thing you should know before sitting down to draw is this:
The quote attributed to Salvador Dali shouldn't discourage you, I hope it encourages you. No matter how hard we try to be perfect or to get something to look like it does in our mind, we will never achieve this goal. We will always see a flaw, even when no one else can see it. The goal of art is not to be perfect or make something look like an exact copy, the goal of art is to express. Practice improves our skill, so practice to improve skill and confidence not to achieve perfection!
Relax and enjoy the process without pressuring yourself to be perfect!!!!
Now that that is said, let's make some art!
Although the lessons grouped by grade, anyone can do any of the lessons. It might be fun to complete some as a family.
Remember the pencil you are using matters. When you are drawing press lightly with a sharpened pencil. If you have drawing pencils at home the following pencil scale illustrates how the hardness of the pencil lead affects your drawing (H= hard lead light marks, B= soft lead darker marks). Don't use a lot of pressure until you like the mark you made. If you press hard and try to erase the mark you made might still be there (the dreaded ghosts!).
Pre-School - Kindergarten
The best way to learn how to draw is by putting your pencil to the paper and start moving it. Click on the links below for worksheets. The tracing pages is a great place to start. Tracing helps develop writing skills and it helps build muscle strength in your child's hand. The next step you can try are the simple step-by-step tutorials.
When they are finished encourage them to color their art in!
Tracing pages
Circles Triangles Squares Rectangles Ovals Trapezoids Hexagons Diamonds
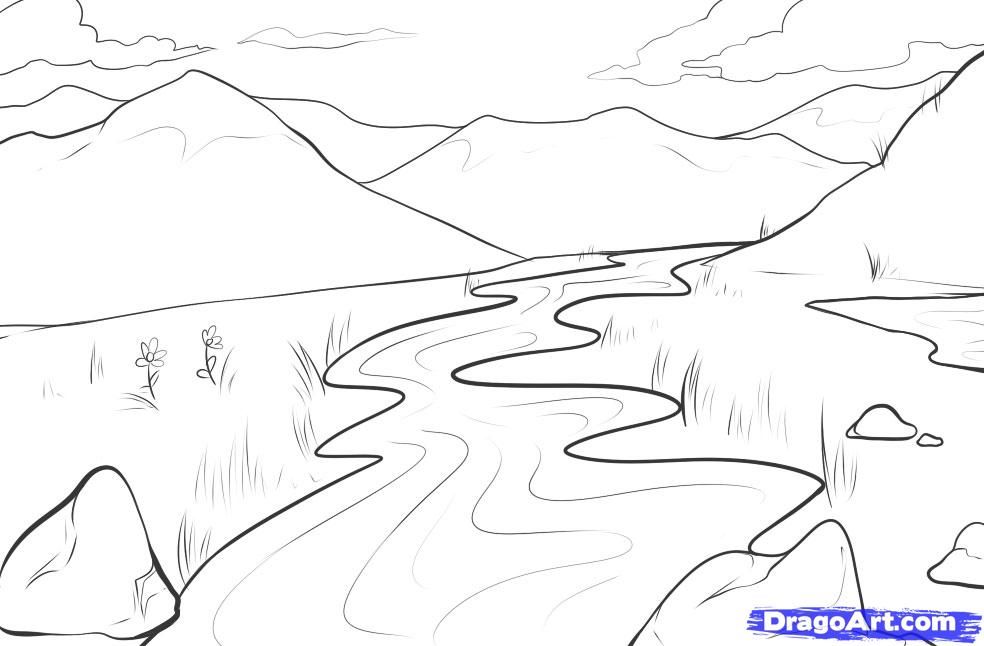
Step-by-Step Drawing
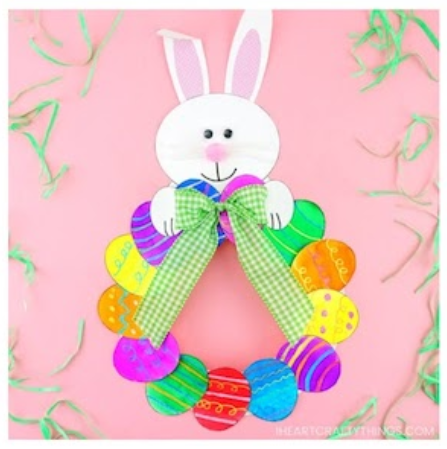
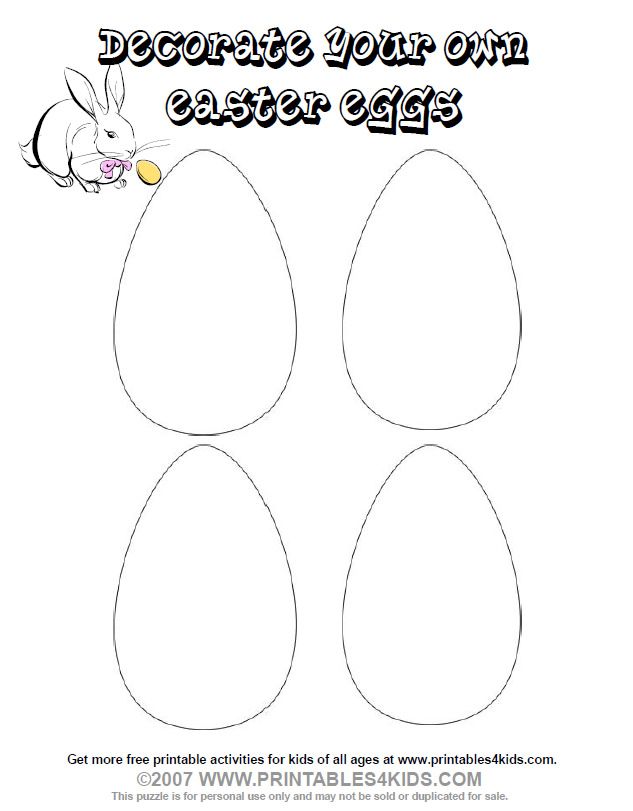
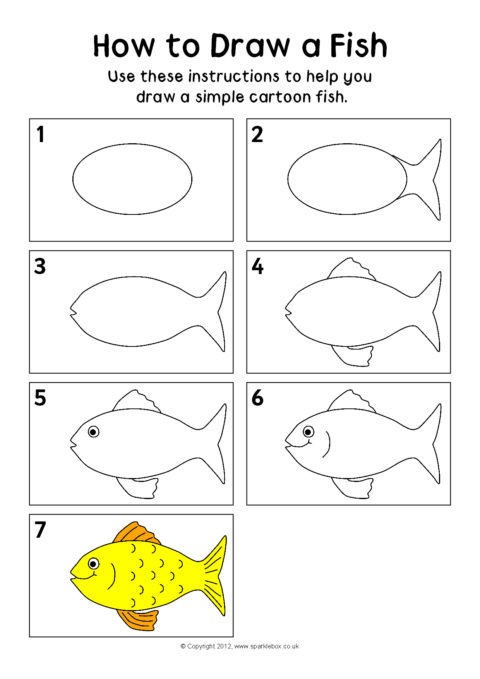
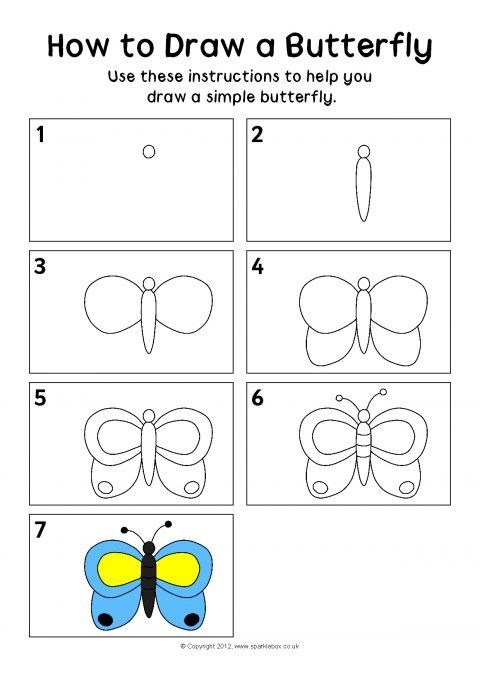
Decorate the Easter Eggs How to draw a house How to draw a fish How to draw a butterfly
1st- 2nd- 3rd Grades
Step-by-Step drawing pages
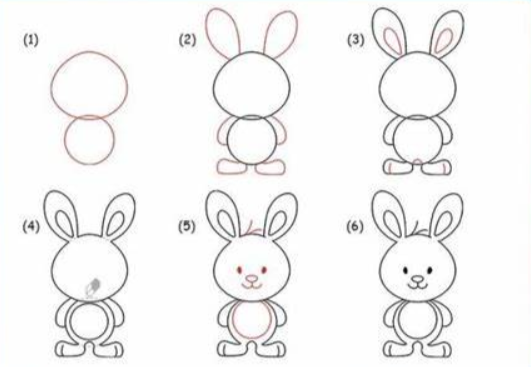
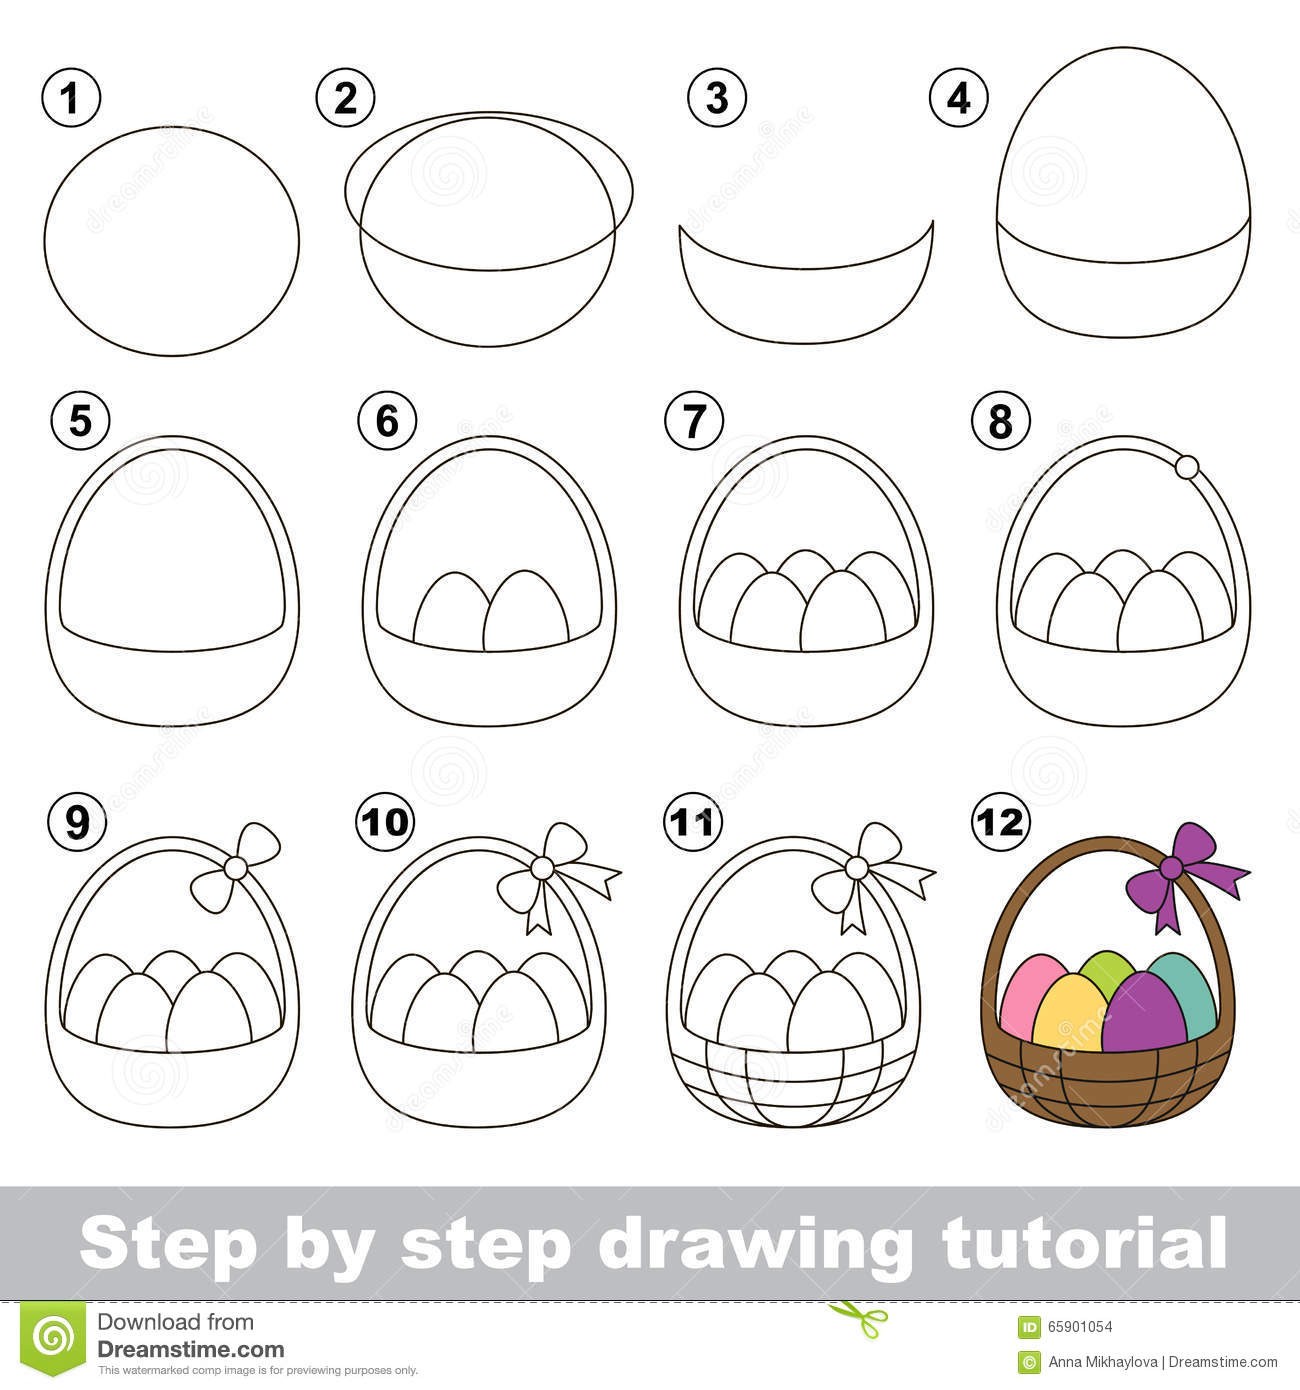
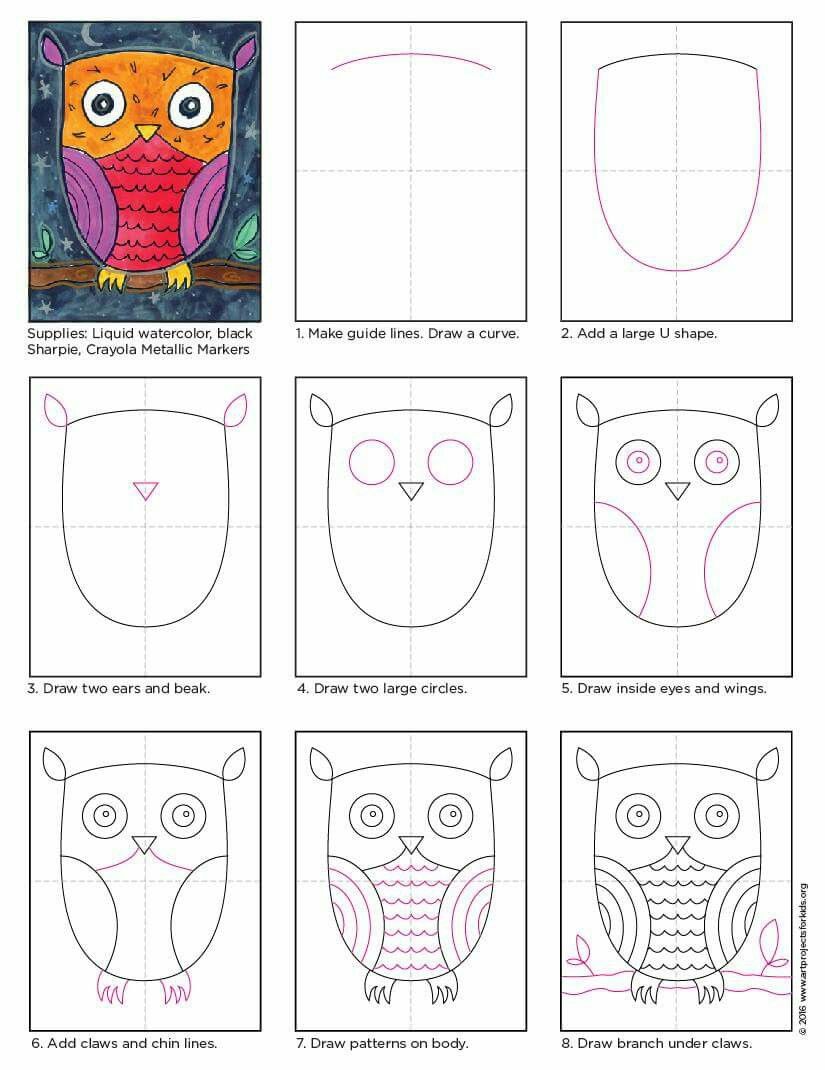
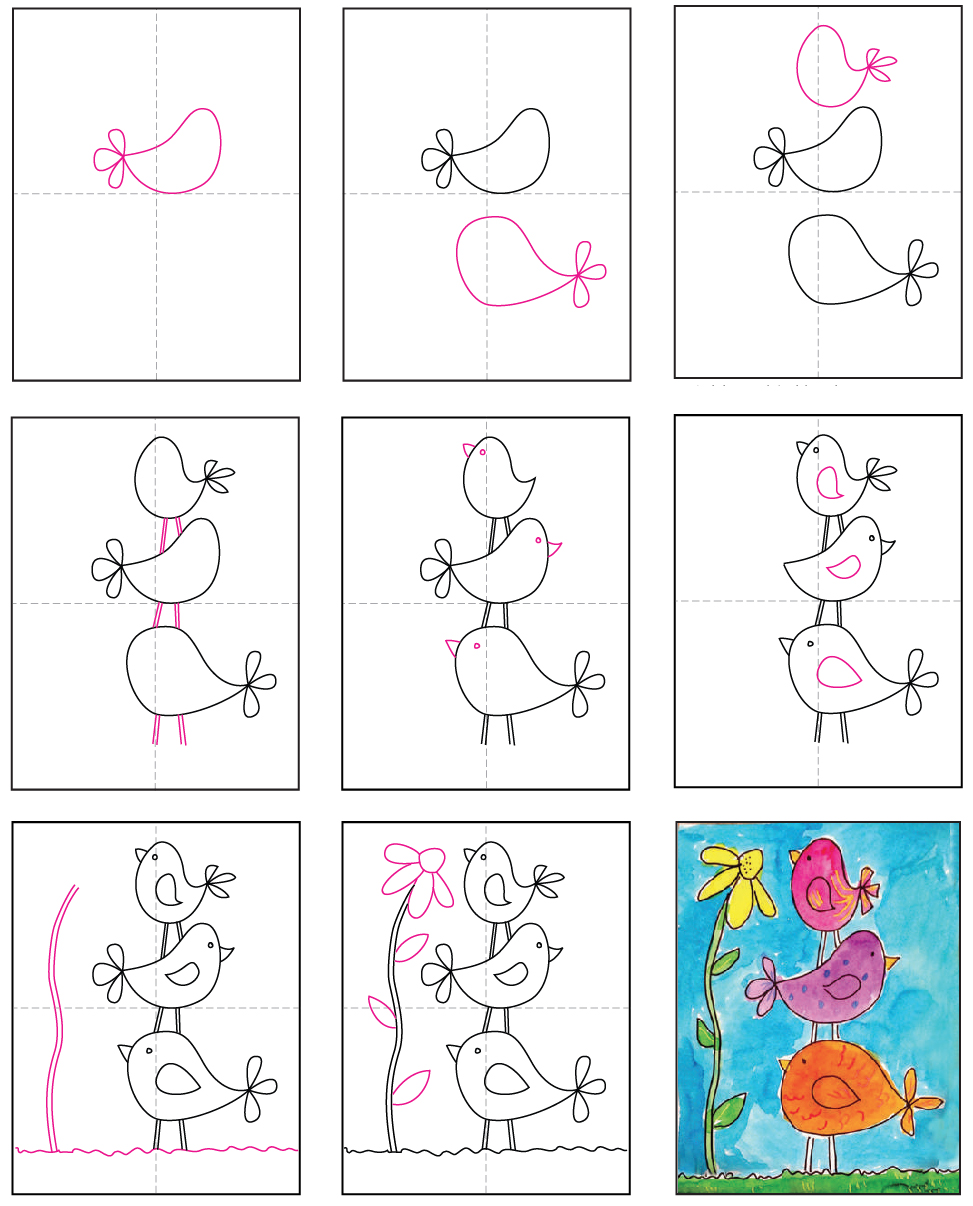
Draw an Easter Bunny Draw an Easter Basket Draw an owl Drawing birds
4th - 5th Grades
Step-by-Step drawing pages
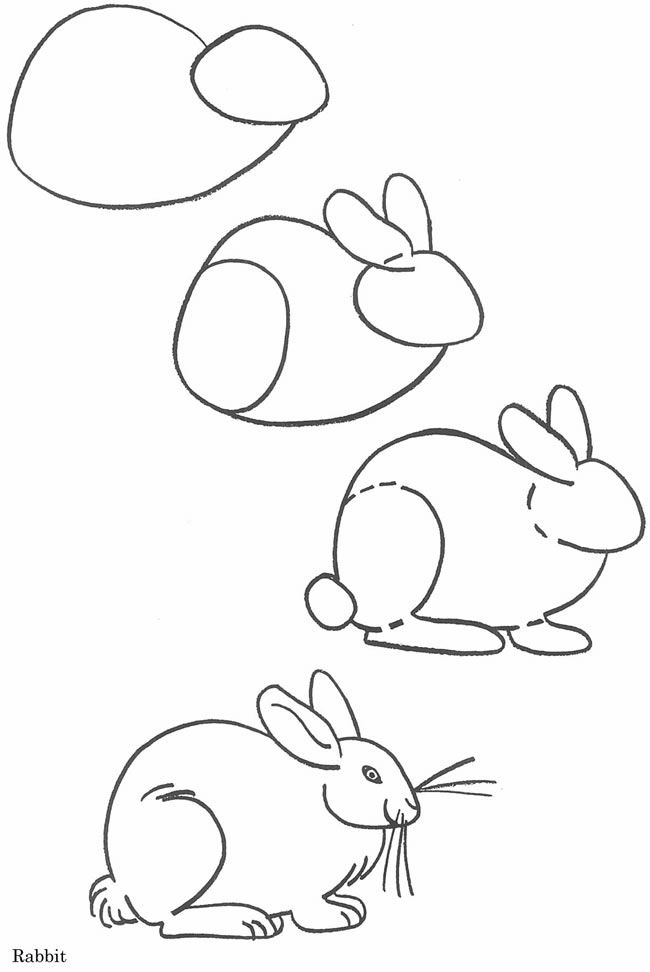
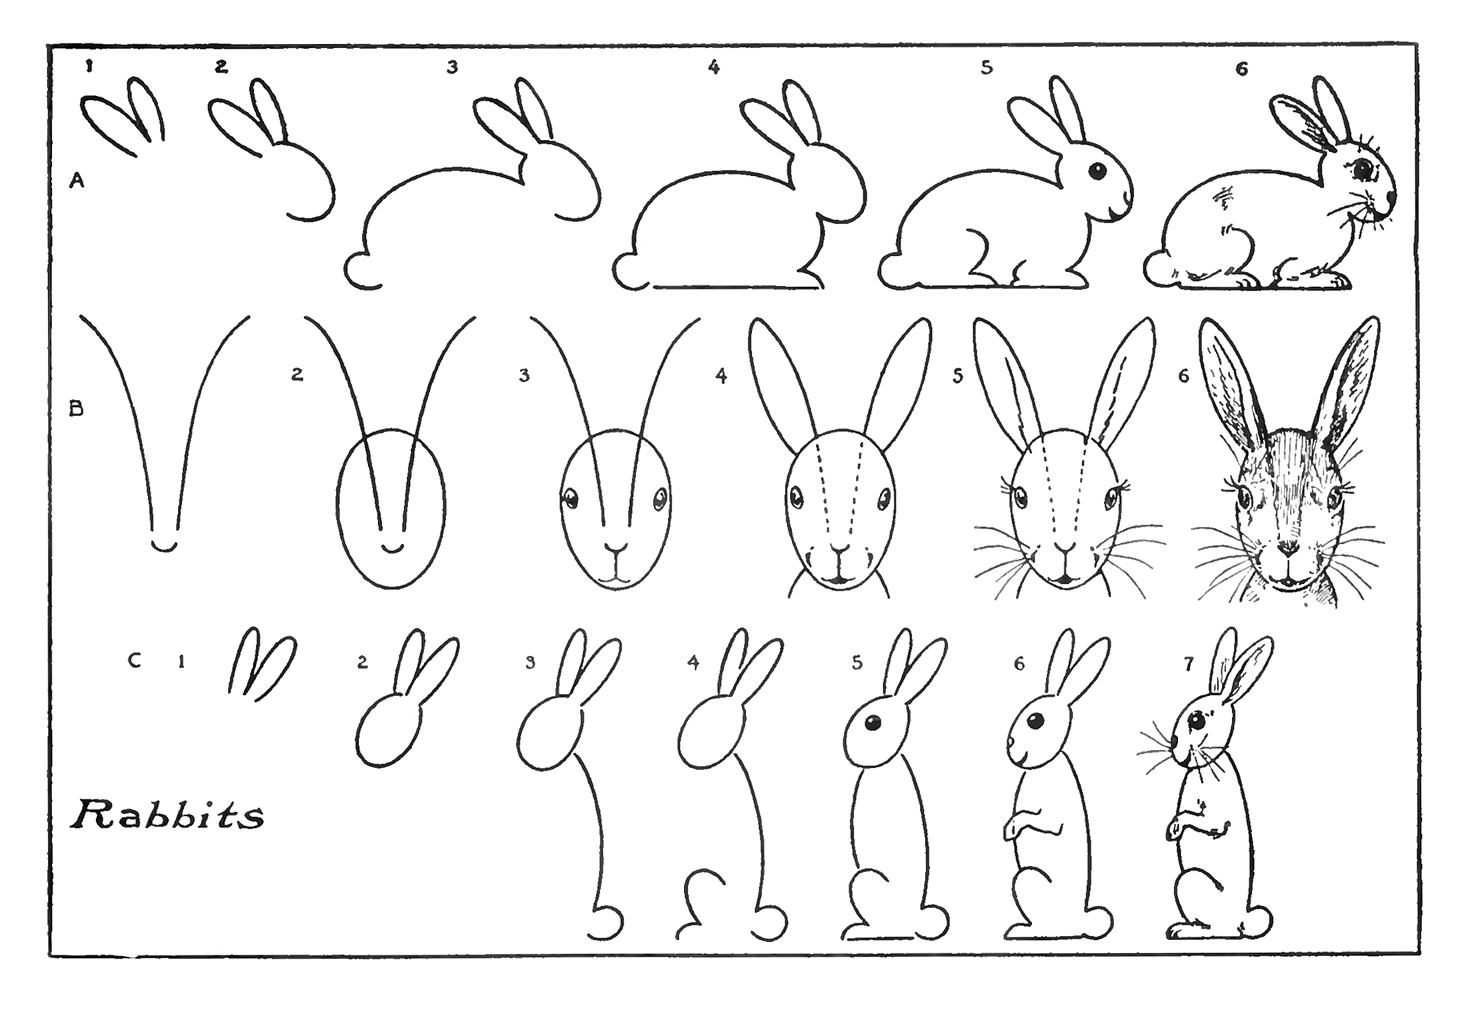
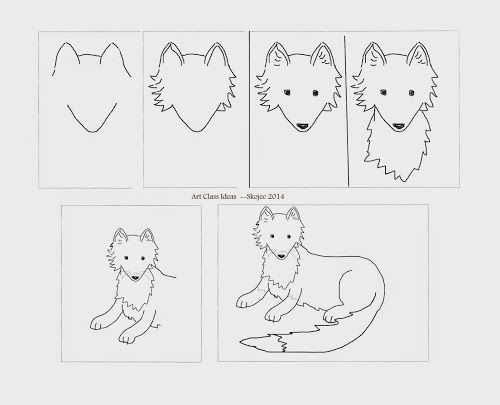
Rabbit Drawing Several Different Rabbits Fox Drawing
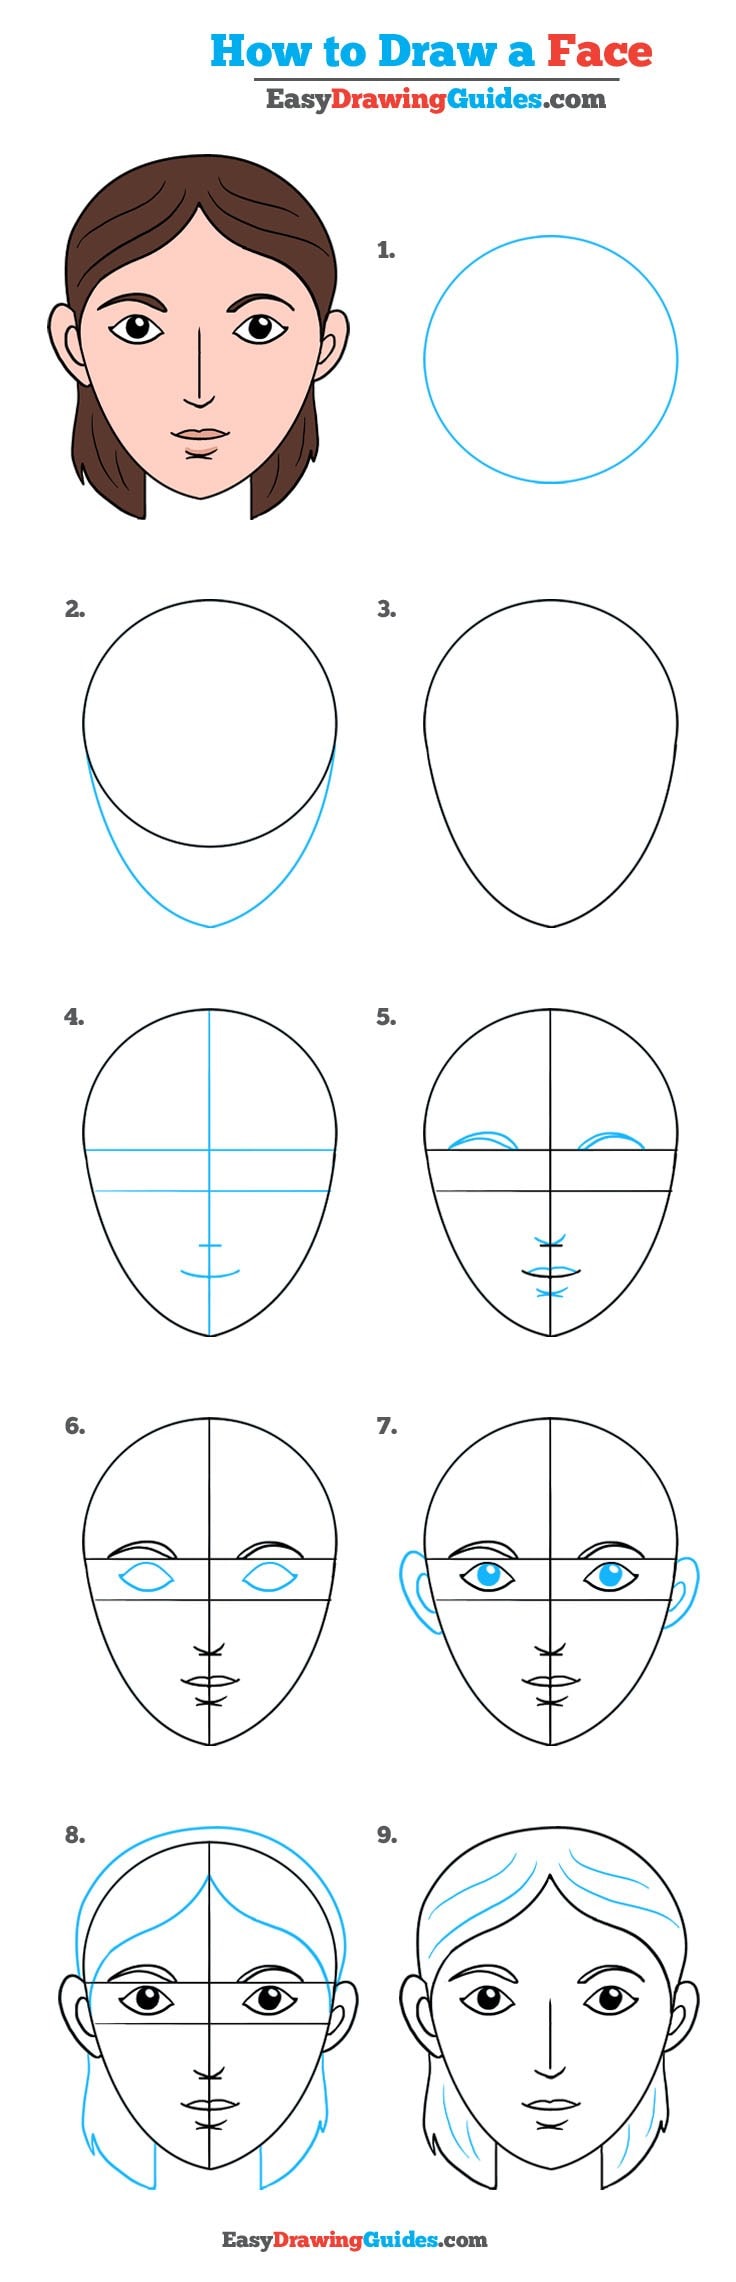
6th - 7th - 8th Grades
Step-by-Step drawing pages
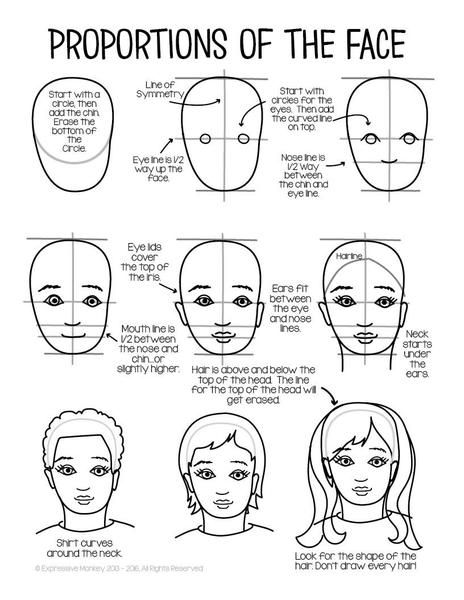
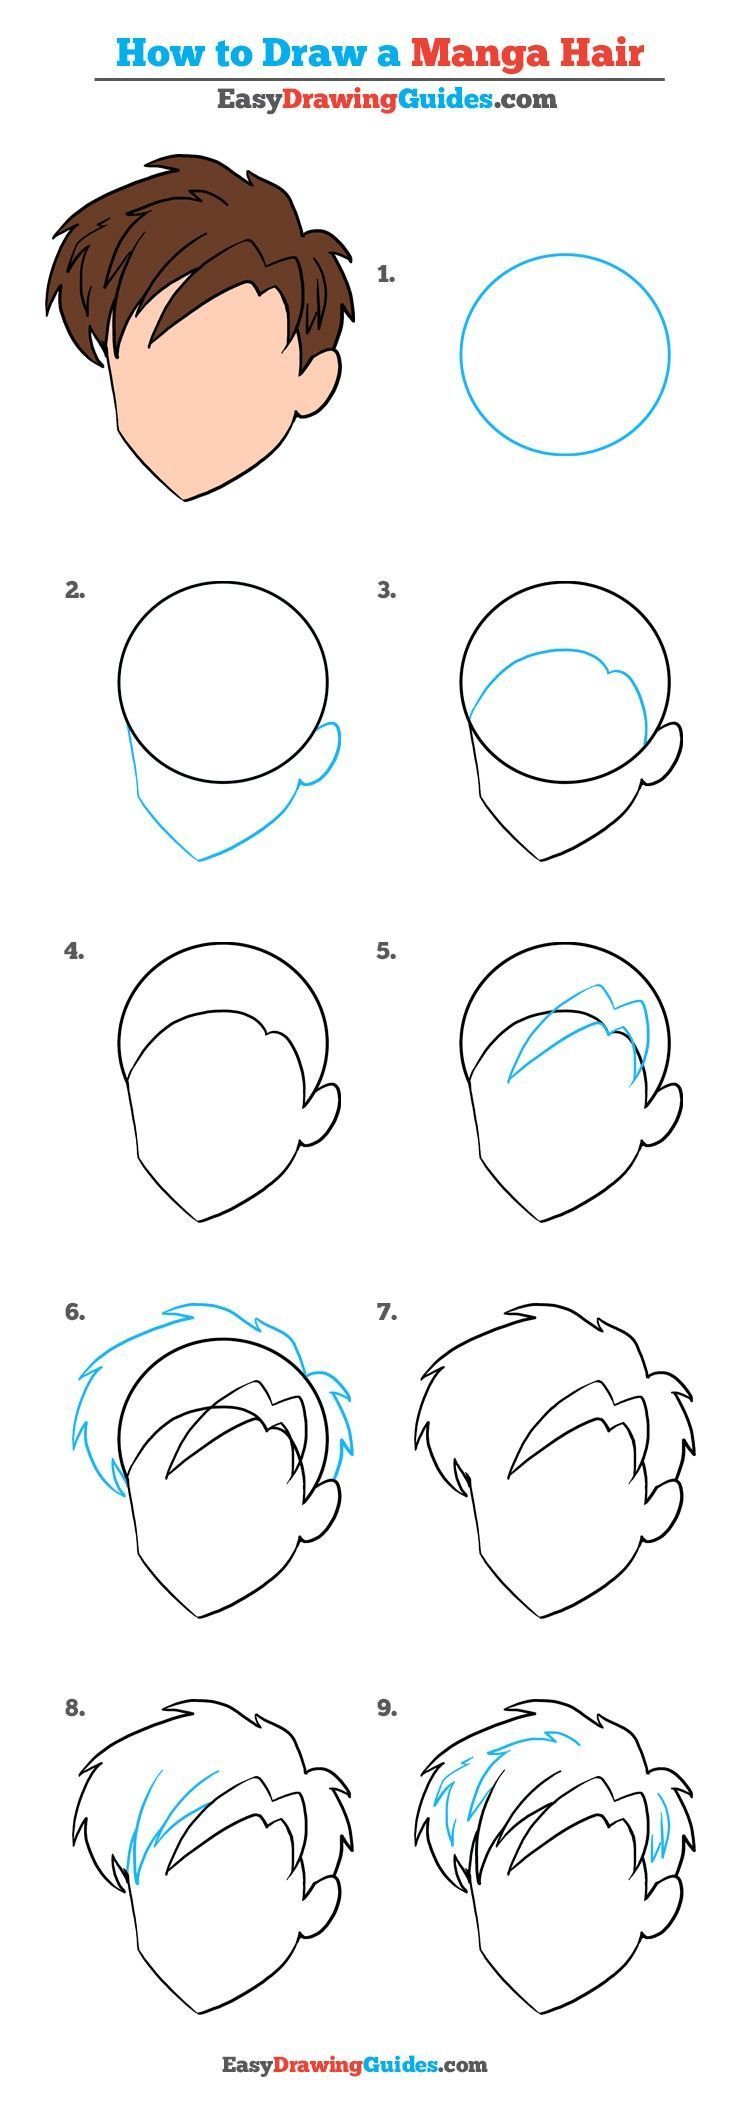
You may try any of the above drawings. If you want a challenge try creating a self-portrait. You'll need a mirror (or a photograph) for a reference. The following links should help you.
(You can always message me on the contact page if you need help!)
How to draw a face 1 How to draw a face 2 How to draw a face 3